How to Edit Photos for Printing
 by William Kenny
 3 Minutes
Want to know how to edit photos for printing? Our BESTCANVAS experts are here with some essential insights for getting picture-perfect results!
Not every photo turns out flawless, but by learning some simple editing techniques, you can enhance almost any image. And the best part? You don’t need expensive software to make your photos shine.
We’ve compiled the most efficient and easy-to-follow tips so you can prepare your photos for creating beautiful canvas prints or other custom print formats. Read on!
1. Calibrate Your Monitor
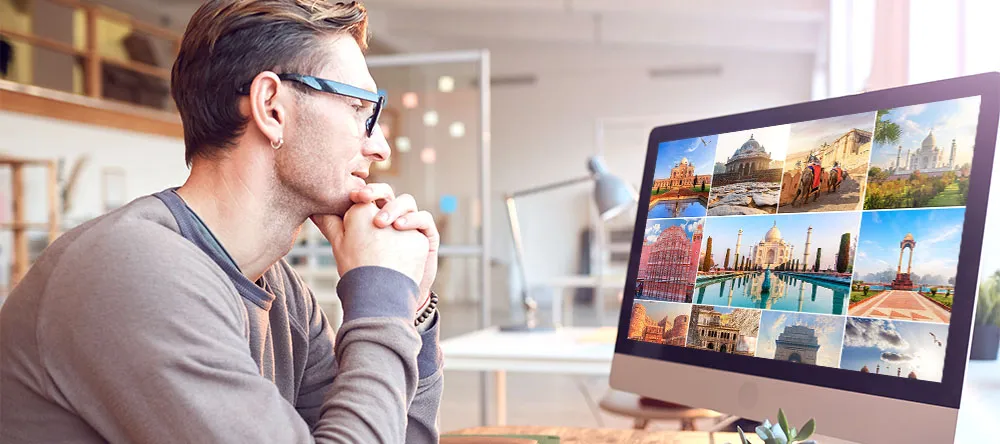
Did you know that if your monitor has an unusual calibration, your printed photos can look pretty different from the way they looked onscreen? Some monitors display colors with a warmer or cooler tint than they’ll have in print.
To avoid surprises, adjust your monitor’s settings manually using advanced display options. This will ensure that the colors on your screen are as close to the final print as possible.
2. Crop Your Photo

Are you perfectly happy with the composition of your photo? Then feel free to skip this step. Buf if you think the main subject would benefit if you removed some unnecessary detail, cropping is the way to go.
Just remember that cutting away parts of your image will reduce its overall pixel count – which will in turn affect the resolution of your print. Avoid over-cropping to get a crisp, vibrant result.
3. Adjust Brightness & Contrast
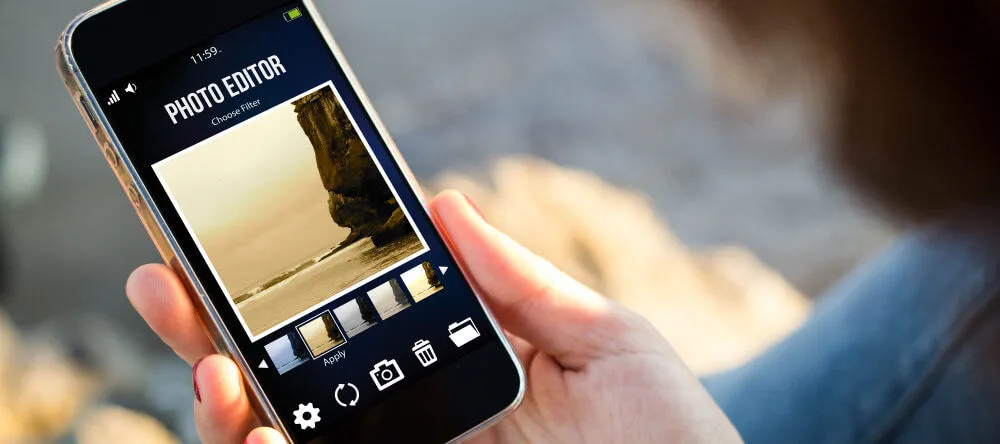
Sometimes photos come out a bit darker than you’d like. Increasing the brightness can bring out hidden details, while adjusting the contrast can make colors more vibrant.
While many editing tools offer auto-correction, manual adjustments often give better results. Taking time to fine-tune the brightness and contrast can bring real improvements.
4. Enhance Colors
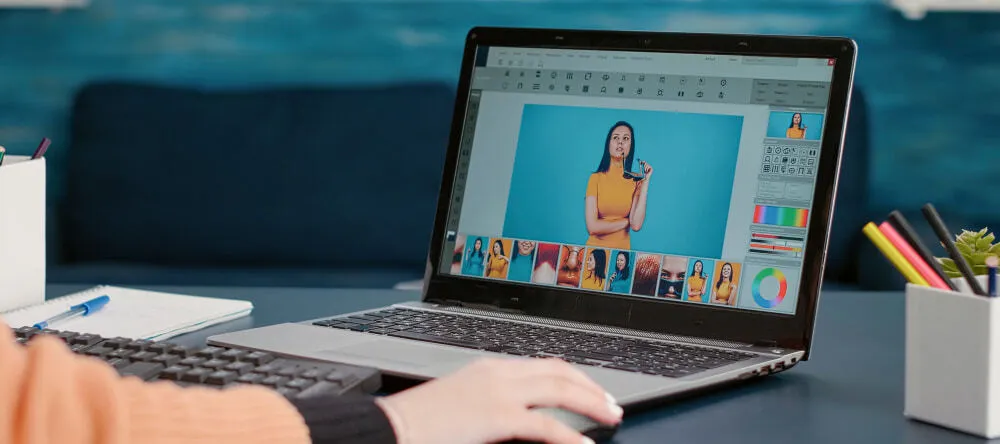
Vivid colors can make a photo pop – and bring added depth and vibrancy to your prints – so try turning up the saturation.
Even a small change in saturation can make a difference, but feel free to go bold and try a “hyper-real” effect if that’s the look you’re after.
5. Focus on Sharpness & Clarity
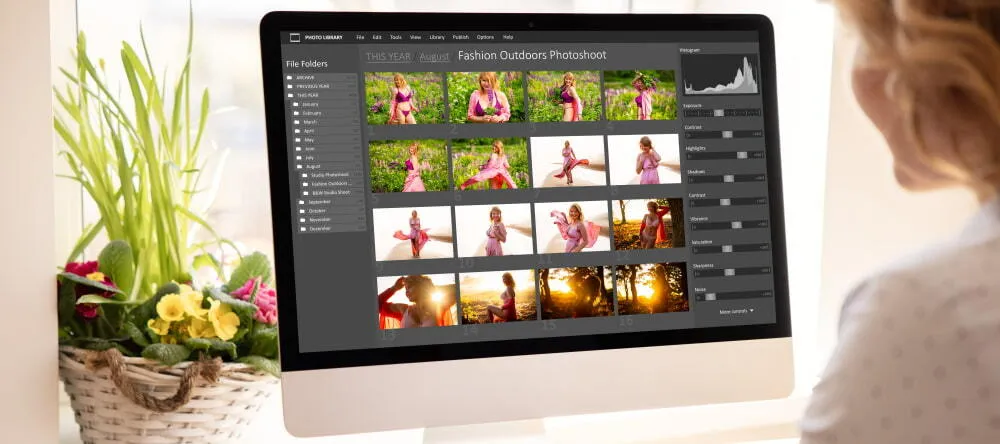
To make sure your printed photos look crisp, try adjusting the sharpness and clarity. Most photo editors – even free ones – offer tools to fine-tune these settings.
Avoid overdoing it, though, as excessive sharpening can lead to unwanted effects. If you zoom in while adjusting you’re more likely to find the perfect balance.
6. Try Filters

Filters can alter your photo’s mood, giving it a warmer, vintage, or color-enhanced look. It’s best to use them sparingly, sticking to ones that match your photo’s theme and mood, but they can bring striking results if done right.
Apps like Google Photos, Instagram, and even basic Windows or Android photo editors offer a variety of options to play with.
7. Save & Print with Confidence

Once you’re happy with your edits, save your masterpiece! Choose a high-quality format like .jpeg to preserve the fine details.
We suggest creating a separate folder to store original and edited copies. And if you’re editing on your phone, be careful not to overwrite the original file.
When everything looks good, upload your edited images to BESTCANVAS, select your preferred print format, and get ready to see your photos transformed into professional-quality prints!
Pro Tips for Printing Photos at BESTCANVAS
When editing your photos for printing, consider what type of print you’re going to order. Each format offers a unique look, so here are some tips to get the best results at the BESTCANVAS shop:
-
Canvas Prints: Due to the textured finish of canvas, dark colors can appear lighter, so you may want to increase the brightness of your photos to get the best look.
-
Metal & Acrylic Prints: These formats produce ultra-vivid colors, so sharpen and enhance your images to highlight every pixel.
-
Framed Photos & Posters: Matte finishes benefit from higher contrast and sharpness to keep images looking vibrant.
-
MIXPIX® Photo Tiles: Our decor tiles are 8” x 8” in size, but most of your photos will be rectangular, not round. Think about how to crop your images to place maximum focus on the subject, while preserving as much background as possible.
Editing photos for printing doesn’t have to be a struggle, even if you only have access to free software. Follow these easy steps to prepare your images right and you should end up with gorgeous prints.
Happy editing, and don’t forget to take advantage of BESTCANVAS’s printing expertise for the best photo wall art around!